First you need to download Sculptypaint. It's a free program and I've linked you HERE.
Open it completely and install. Yay! You can use it to make sculpties. HERE is the tutorial.
I'm going to show you how I use Sculptypaint to "bake" a shadow map for sculpties I've bought.
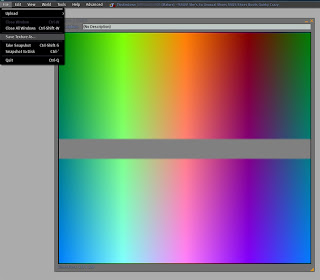
First, save your sculptie texture! Open the texture in SL. Click "File" then "save Texture as" and name it something you will remember.
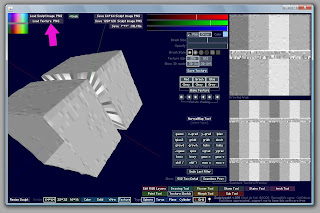
In Sculptypaint, click Load Sculpt Map. You can do this with .tga or .png files. You can even do it with alpha'ed out sculpties. The only ones that don't see to work, are non-full perm sculpties. If you cannot "Save Texture As" then.. well.. you can NOT bake the shadow map.
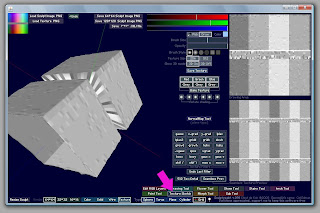
Next. Click on the object and rotate it, by dragging the mouse pointer around. Give it a good look over. Then click on Texture Sketch at the bottom of the window. Yay! Your sculptie will be black or grey.
Click on Bake Texture, under the Red Green Blue Grey Grey Grey bars in the middle of the right hand side.
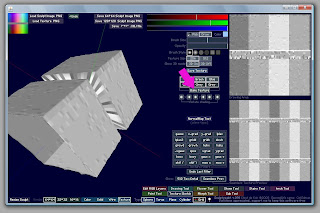
Then use the arrows under that to adjust your lighting. If you move your mouse over the shadow map on the top of the right hand side, you will see it move over the sculptie, helping you locate what part of the shadow map is what part of the sculptie.
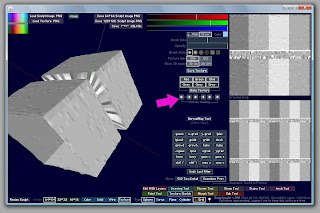
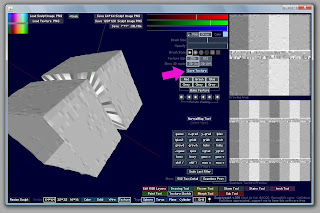
Save your WORK! Click Save Texture and text will pop up in the windows near the sculptie. That's your shadow map! Yay!
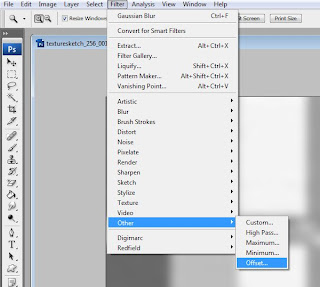
Load your shadow map into Photoshop or your photo editing software of choice. I usually do a Gaussian Blur at first. Then I like to offset by 128pixels each way and do a bit of hand smearing to get rid of any really sharp contrast after the offset.
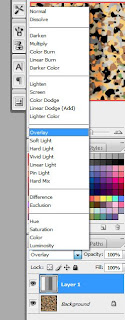
There is your grey toned shadow map. Alot of creators will use this as a Overlay layer. You choose Overlay from the drop down menu of layer properties. Adjust the opacity to adjust the amount of highlight/shadow you get. Save and upload to SL, and apply to your sculptie prim. Tada! You did it.
It takes a bit of playing around in PS, but playing in PS is how most people get to be so good at it. Don't be afraid to try it.


4 comments:
thanks alot for taking the time to do this ive used sculptiepaint for a while but never knew how to use this tool :-)
Thanks so much!!
How much blur do you use, i mean what setting? and thank you for this great tutorial, very helpful
It really depends on the shadowing.. I like a 3 pixel to 5 pixel blur..
Post a Comment